Objective
Set up physical locations, organize stocking areas, assign items, and manage item placement for counts and inventory.
Prerequisites
- You are signed in as an owner.
- Your organization setup is complete.
- Items should exist before you assign items to a location or stocking area.
Step-by-step Instructions
Open Locations
Navigate to Manage > Locations.
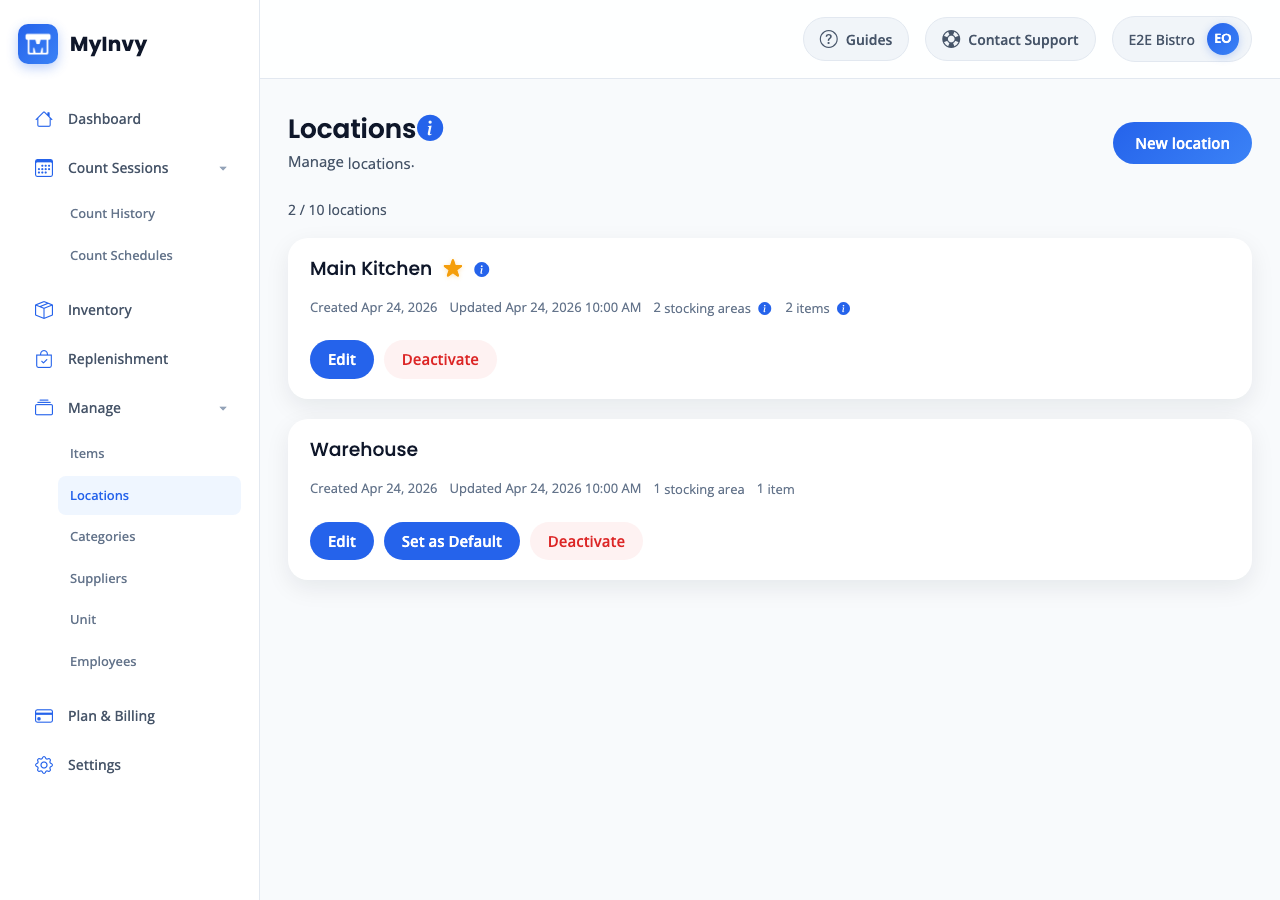
Manage navigation expanded with Locations selected. Create a location
Click New location. Input Location name and optional Location code. Check Active location when the location should be usable, check Warehouse location when it supplies transfers, then click Create location.

New location form with Active location and Warehouse location checkboxes. Open the location detail
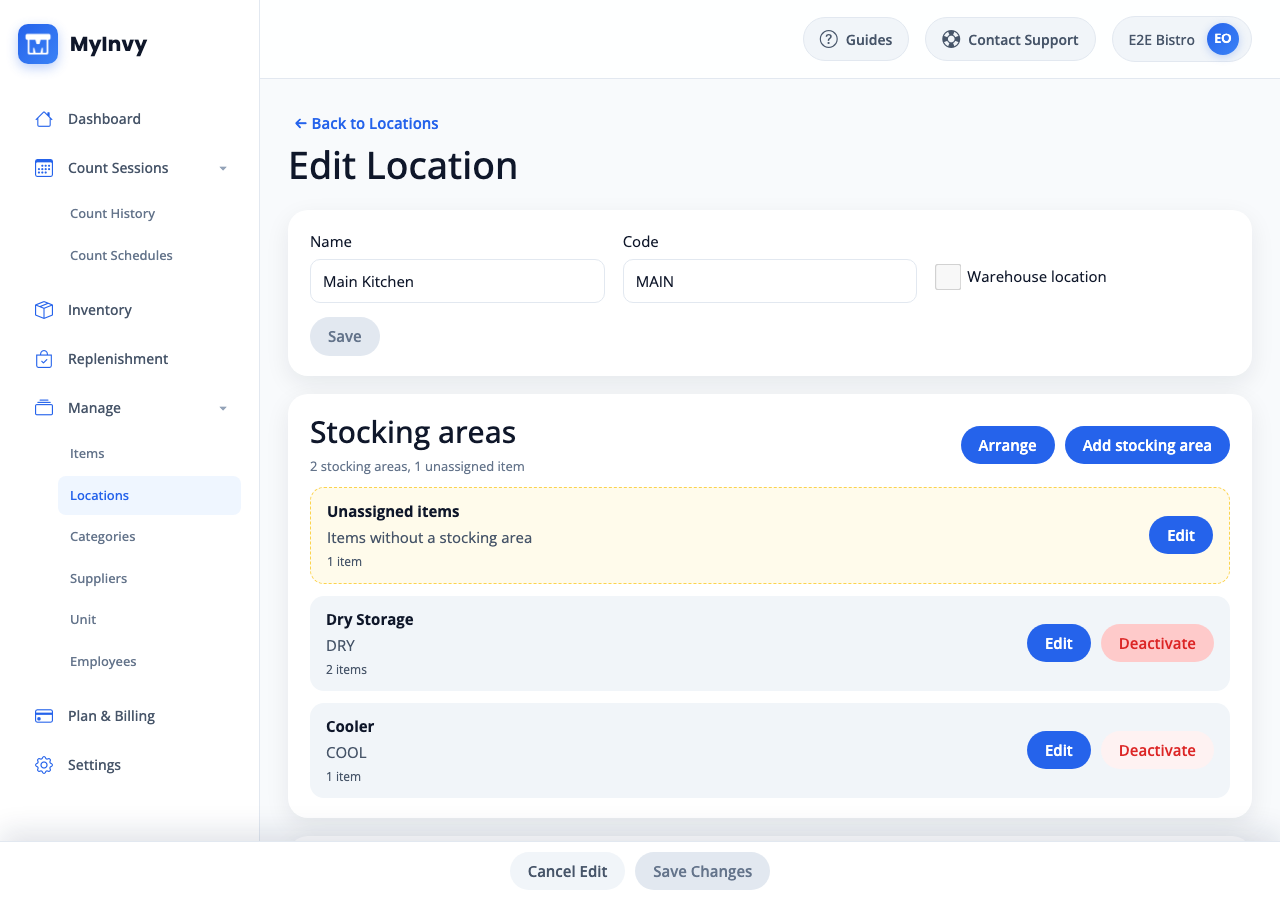
On the location card, click Edit. Update Name, Code, or Warehouse location and click Save when needed.

location card with Edit, Set as Default, Delete or Deactivate actions. Add and arrange stocking areas
In Stocking areas, click Add stocking area, input Stocking area name and optional Stocking area code, then click Create stocking area. Use Arrange when you need to reorder stocking areas.
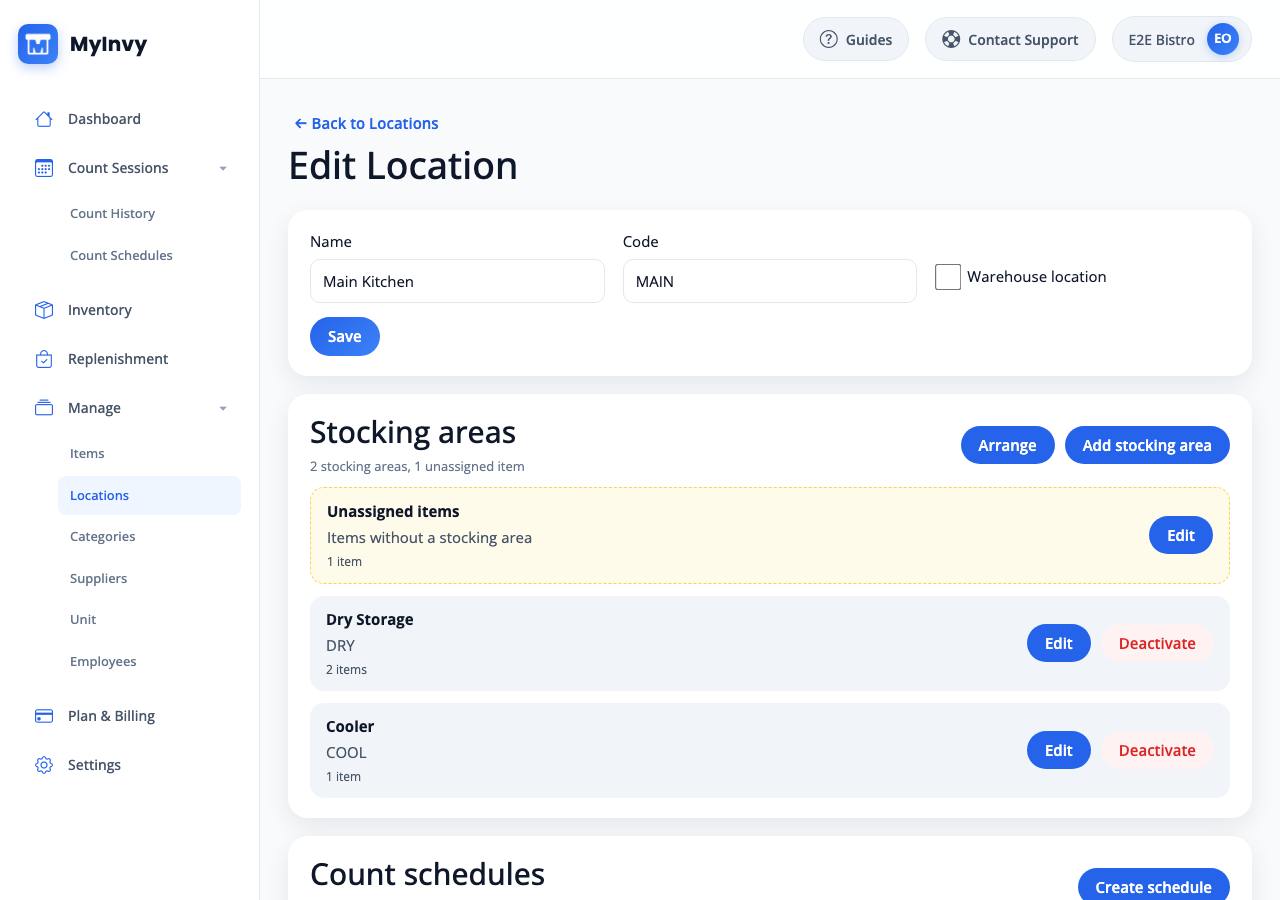
Edit Location page showing Stocking areas, Count schedules, and Assigned items sections. Assign and tune location items
In Assigned items, click Assign items, filter by name or SKU, select available items, and click Assign items. Use Quick Edit to update Stocking Area, Unit, Count Policy, Reorder Point, and Par, then click Save Changes.
Assigned items table with Assign items, Quick Edit, Copy, Move, and Remove controls. Move, copy, or remove placed items
Select one or more assigned rows. Click Copy to duplicate items to another location or stocking area, Move to relocate items, or Remove to remove the current location configuration.
bulk bar for selected location items with Copy, Move, and Remove.
Success Criteria
The location, stocking areas, and assigned item rules appear on the location detail page and are available to count, inventory, and replenishment workflows.
Troubleshooting Tips
- If you see Upgrade to add more locations or stocking areas, your current plan limit has been reached.
- If Assign items shows no rows, create items first or turn off Show Unassigned Items Only.
- If a manager cannot access a location, navigate to Manage > Employees, open Manage teammate, and update their location assignment.