Objective
Start MyInvy, create the first organization, add a primary location, and decide whether to import inventory during setup.
Prerequisites
- You have a MyInvy account.
- You are not already assigned to an organization.
Step-by-step Instructions
Open the sign-in screen
Navigate to MyInvy and click Sign in. Complete the Microsoft sign-in flow and return to the app.
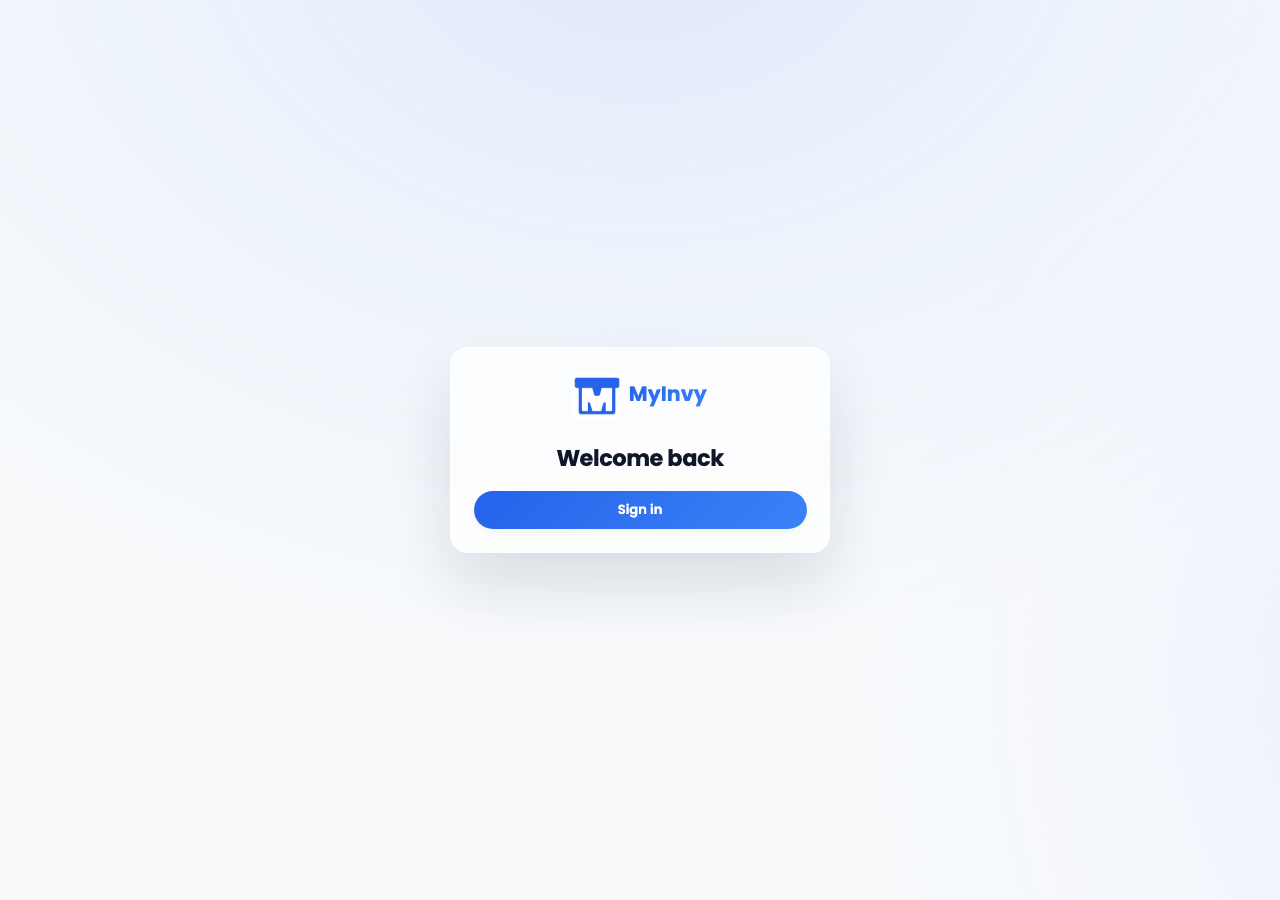
the public login card with the MyInvy logo, Welcome back heading, and Sign in button. Create the organization
Input First name, Last name, Organization name, Billing email, optional Timezone, Primary location name, and optional Location code. Click Create organization.
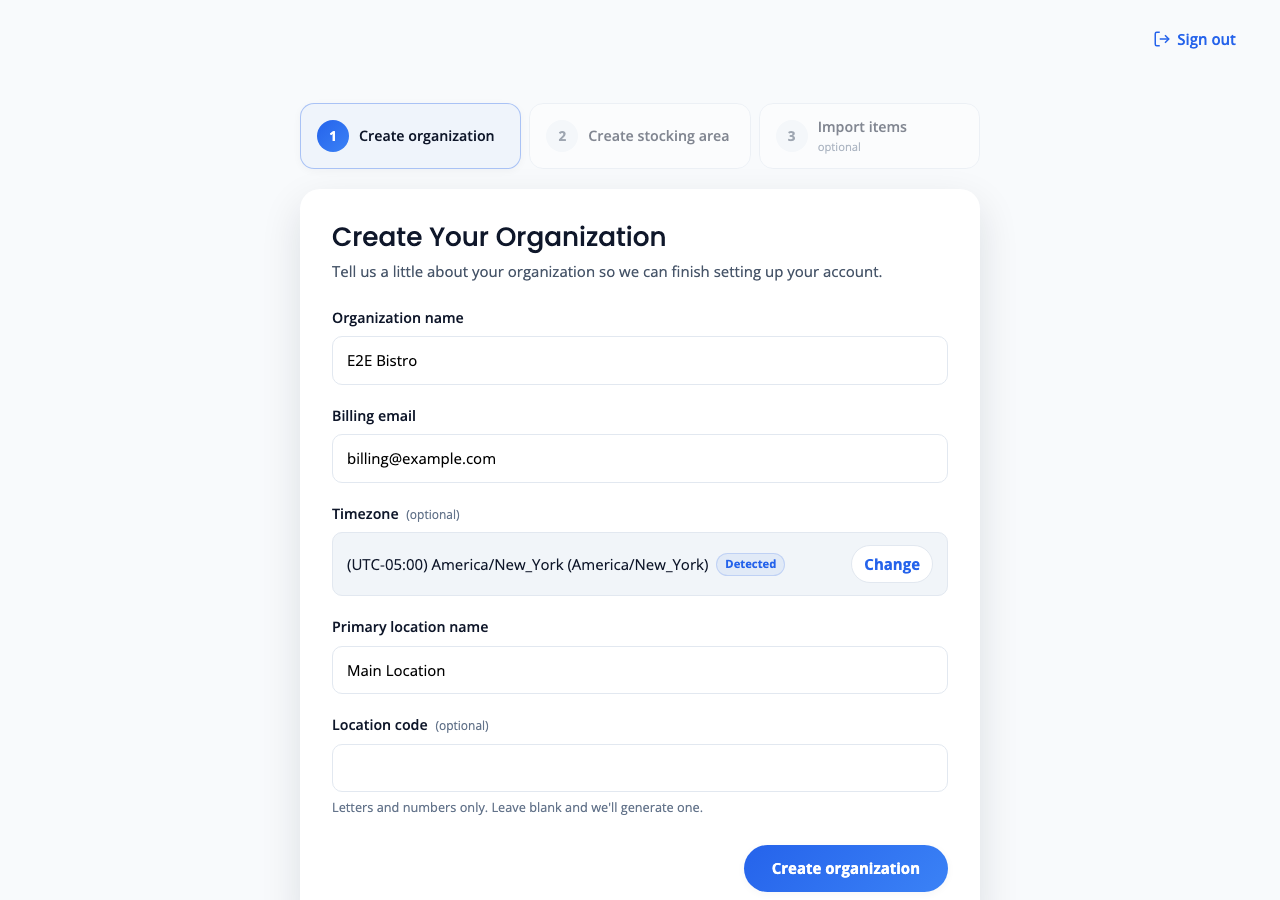
Create Your Organization form with profile, organization, billing, timezone, and primary location fields. Create or skip the first stocking area
Input Stocking area name and optional Stocking area code, then click Create stocking area. Click Skip for now if you want to add stocking areas later from Manage > Locations.

Create a stocking area step with Skip for now and Create stocking area actions. Upload or skip the onboarding import
On Upload your inventory file, click Download the MyInvy template if you need the template, upload the file, click Next: Edit items, and click Apply import. Click Skip for now if you will add items later.
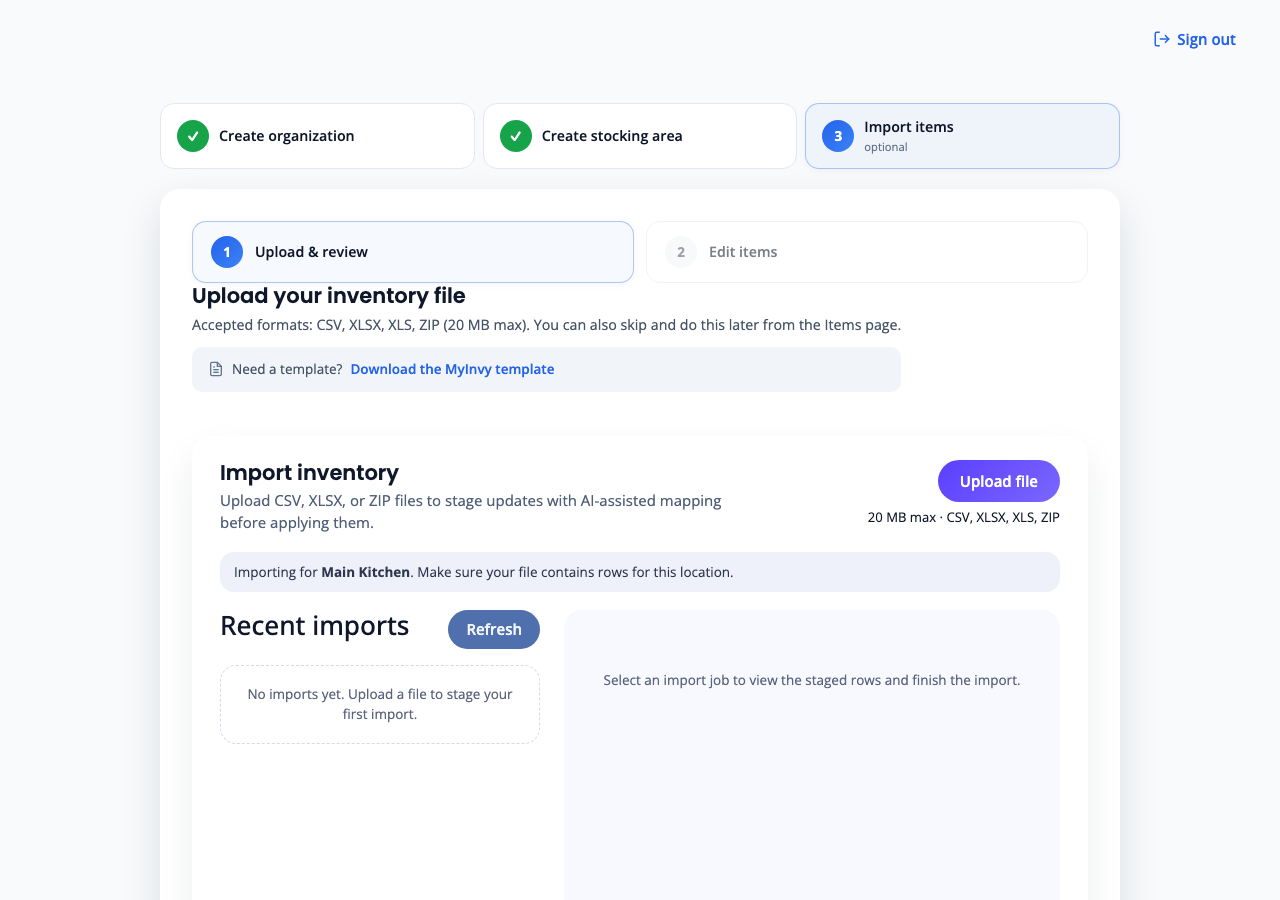
onboarding import with Upload & review, Edit items, Include rows with warnings, Apply import, and Finish setup.
Success Criteria
You reach the dashboard and can see Owner Tools such as Manage Items, Manage Locations, Plan & Billing, and Start Count Session.
Troubleshooting Tips
- If sign-in returns to the login page, click Sign in again because the authentication session may have expired.
- If the organization step reports that no active service plan is available, contact support before retrying setup.
- If import rows show warnings, review the warning count before choosing Include rows with warnings.